

Sterndrive bellows inspection deserves a place on every fall maintenance list for an inboard/outboard boat. These flexible rubber components live between the transom assembly and the moving drive, where they flex through steering and trim changes while helping protect critical openings. A cracked, hardened, chafed, or poorly seated bellows can turn a small age-related defect into water intrusion and a much larger repair.
This is not a universal replacement tutorial. Bellows layouts, clamps, adhesives, tools, service intervals, and installation procedures vary by drive family. Use the operation, maintenance, and service information for the boat’s exact drive model and serial number. A careful owner can perform a useful visual inspection, but drive removal and bellows replacement are often jobs for a qualified sterndrive technician.
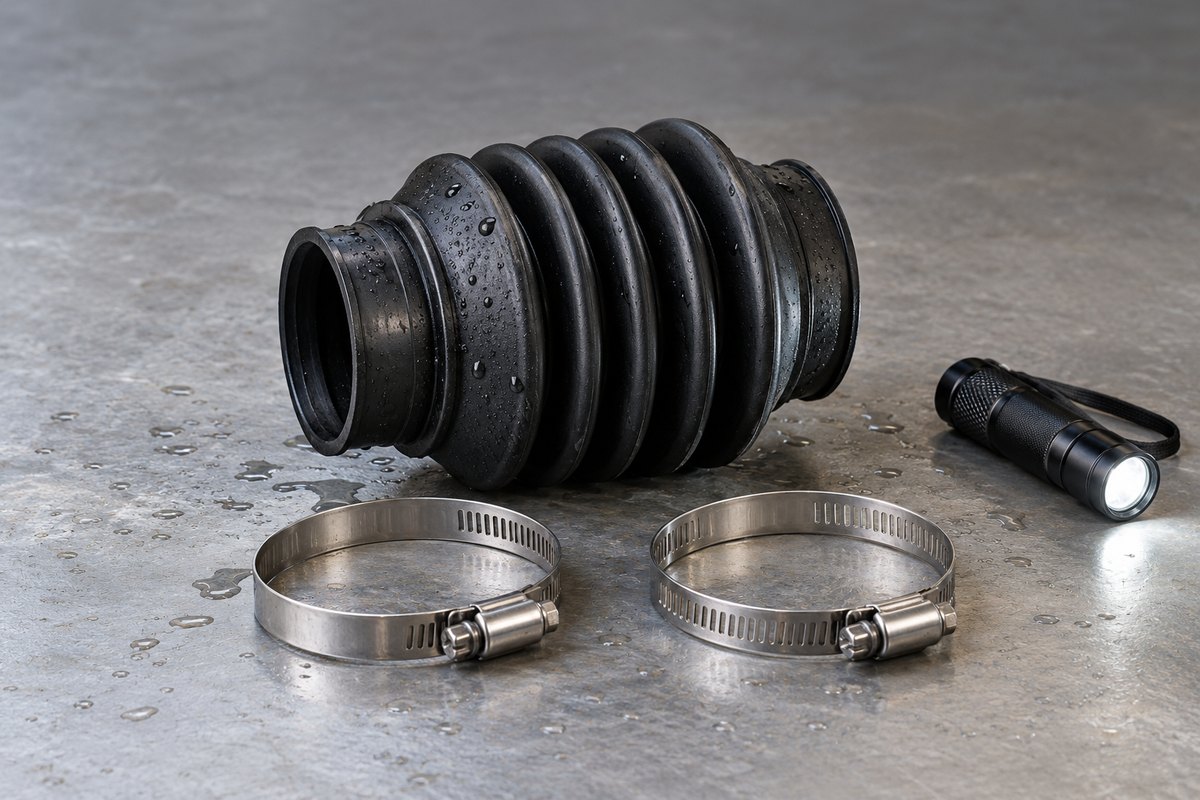
Know which sterndrive bellows you are looking at
A sterndrive transom assembly may include several rubber components, and they do not all perform the same job. Depending on the model, you may find:
- A large drive-joint or U-joint bellows around the driveline connection.
- A smaller shift-cable bellows around the cable where it passes through the transom assembly.
- An exhaust bellows or exhaust tube carrying exhaust toward the drive.
- A separate seawater hose supplying the engine’s raw-water circuit.
Mercury’s maintenance guidance specifically identifies the U-joint bellows, shift-cable bellows, water hose, and exhaust bellows as rubber items that can dry-rot and fail with age. The company also recommends a professional sterndrive inspection that includes the U-joints and gimbal bearing when the drive is removed. That context matters: an exterior look is valuable, but it cannot reveal every hidden problem.
Prepare the boat for a safe visual inspection
Inspect the bellows with the boat out of the water, the engine off, the ignition key removed, and the trailer or boat securely supported. Keep clear of the drive’s pinch points. Never work beneath an unsupported drive, and do not disconnect trim hardware or move the drive beyond the positions allowed by the manufacturer’s instructions.
Before touching anything, rinse away salt, mud, and plant material with fresh water, then let the area dry. Clean surfaces make cracks, rub marks, and rusty clamp tracks easier to see. Use a bright flashlight and a small inspection mirror rather than forcing your hand into a tight gap.
Inspect the bellows through the drive’s allowed range
Follow the owner’s manual for safe trim and steering positions. If the drive can be moved safely, look at the rubber in more than one permitted position because a fold that appears sound when compressed may open a crack when extended.
Work around as much of each bellows circumference as you can see. Look for:
- Fine cracks at the peaks and valleys of the accordion folds.
- A glossy, hardened, chalky, or unusually soft surface.
- Cuts, abrasion, flat spots, or contact marks from nearby hardware.
- Bulges, distortion, folds that remain collapsed, or rubber that no longer returns evenly.
- Loose, crooked, corroded, or displaced clamps.
- A bellows lip that appears rolled, pulled away, or unevenly seated.
- Rust trails, water staining, or residue near the joint.
- A damaged shift-cable bellows or raw-water hose beside the larger drive bellows.
Do not probe questionable rubber with a sharp tool. A pick or screwdriver can create the leak you are trying to prevent. Likewise, do not spray an unapproved dressing or solvent on the rubber; use only products and cleaning methods permitted for the specific drive.
Treat moisture and hidden damage seriously
Visible cracking is not the only reason to stop. If water, rusty liquid, unusual grease, or milky residue appears in or around the drive-joint area, do not assume that drying the exterior solves the problem. Ask a qualified technician to investigate before the boat returns to service.
The drive-joint bellows protects components that cannot be fully assessed from outside. A technician may need to remove the drive to inspect the U-joints, gimbal bearing, coupler-yoke splines, alignment-related wear, and the inside of the bellows. Mercury explicitly recommends this broader inspection when evaluating an aging sterndrive. A damaged exhaust bellows may present differently from a leaking drive-joint bellows, so avoid diagnosing the consequence from appearance alone.
Do not blindly tighten clamps or substitute parts
A clamp that looks loose deserves investigation, but tightening it without the correct procedure can move the bellows, damage the sealing surface, or conceal a larger problem. Clamp orientation, fastener access, torque, adhesive or sealant use, and bellows positioning are model-specific.
Replacement parts are model-specific too. For example, Mercury’s Quicksilver transom-seal kits distinguish among selected drive applications and direct owners to the appropriate owner’s or service manual for fit and replacement instructions. Order by the exact engine and drive identification rather than by appearance alone. A similar-looking bellows is not proof of compatibility.
Set the drive for storage according to the manual
Storage position affects the rubber. Mercury advises storing an installed MerCruiser sterndrive in the down position because leaving it up can permanently deform the transom bellows. That is manufacturer-specific guidance, not a blanket instruction for every drive, storage rack, or climate. Confirm the required position in the manual for the installed system, and make sure ground clearance and support arrangements are safe.
If the drive must remain raised temporarily for transport or clearance, lower it to the specified storage position as soon as the boat is secure. Never rely on the hydraulic trim system as the only protection while working near or under the drive.
When to schedule professional sterndrive service
Arrange qualified service before launch if the inspection finds:
- Any crack, split, puncture, or separated sealing lip.
- A displaced clamp or a clamp cutting into the rubber.
- Evidence of water inside a protected area.
- Stiff, distorted, swollen, or badly abraded rubber.
- Unusual U-joint noise, roughness, or gimbal-area noise noted during operation.
- Unknown bellows age or an incomplete service history.
- A service interval that has arrived under the model-specific maintenance schedule.
Do not run the engine or operate the drive merely to “see if it clears up” after finding possible water intrusion. The correct next step is inspection under the applicable service procedure.
Record the inspection in BoatDuty
A bellows looks simple, but its service history is easy to lose. Record the inspection date, engine hours, drive model and serial number, storage position, visible condition of each rubber component, and any technician recommendation in BoatDuty. Note the exact kit or part numbers used after repair, along with clamps, adhesives, and service dates shown on the invoice.
A concise entry such as “U-joint bellows dry and flexible; shift-cable bellows has surface crack at aft fold; do not launch; dealer inspection scheduled” is far more useful next spring than a generic “drive checked” note. Consistent records also make age-related changes easier to compare from season to season.
Fall sterndrive bellows checklist
- Confirm the exact drive model, serial number, and applicable manual.
- Secure the boat and keep clear of drive pinch points.
- Rinse and dry the transom assembly.
- Inspect every visible fold through manufacturer-approved drive positions.
- Check the U-joint, shift-cable, exhaust, and water-hose components that apply.
- Examine clamp position, corrosion, and bellows seating without blind adjustment.
- Stop and obtain service if cracks, distortion, moisture, or residue appear.
- Store the drive in the model-specified position.
- Record findings, engine hours, parts, and follow-up work in BoatDuty.