

Outboard spark plug inspection belongs on the end-of-season maintenance list when the engine's service schedule calls for it. A plug check can reveal damaged electrodes or insulation, confirm that the correct parts are installed, and leave a useful record of a rough-running engine before the boat goes into storage. The most valuable result is a documented decision: reuse an acceptable plug where permitted, replace a worn one, or arrange further diagnosis.
This guide applies to gasoline outboards with serviceable spark plugs. It does not apply to diesel or electric propulsion. Access arrangements, plug materials, replacement intervals, and installation procedures vary. Use the owner's or service manual for the exact engine model and serial range throughout the job.
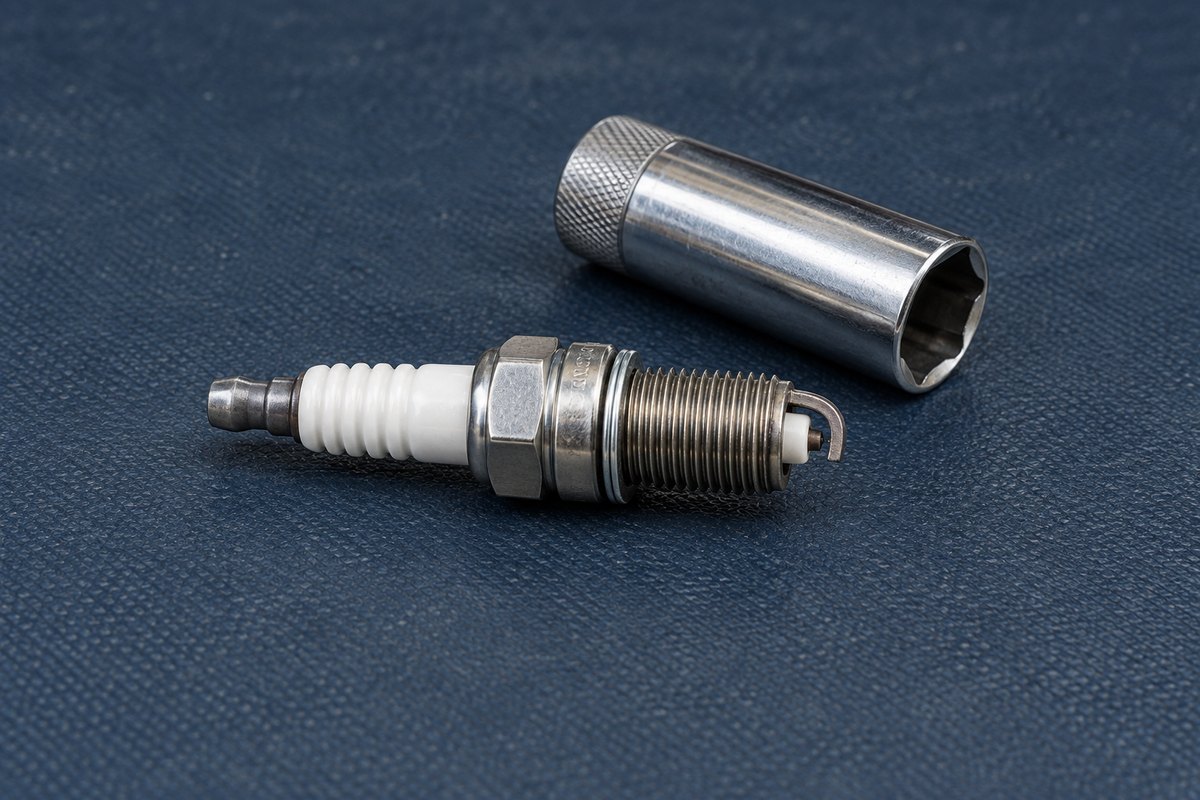
Identify the correct outboard spark plugs before removing anything
Start with the engine identification plate and current maintenance record. Write down the specified plug part number, inspection and replacement intervals, gap specification, and tightening method. Confirm whether the installed plugs are conventional or fine-wire designs. A part that threads into the cylinder head is not automatically the correct replacement.
Keep this information beside the work area so that purchasing, inspection, and installation use the same specification. If an old invoice lists a different part, resolve that discrepancy with the engine dealer before ordering. Do not carry an uncertain substitution forward simply because the engine ran with it last season.
Honda's BF8A manual provides a useful illustration of why identification matters: it names a particular plug and includes its own service procedure. Those instructions belong to that engine; they are not a general specification for every Honda or every outboard. Honda BF8A Owner's Manual
Prepare a clean, controlled inspection area
Work with the engine stopped and cool, remove the ignition key, and prevent starting according to its manual. Follow the specified battery-isolation procedure where applicable. Do not perform an improvised spark test around fuel or vapors. If gasoline is leaking or a strong fuel odor is present, resolve that problem before ignition-system service.
Set out the correct plug socket, an appropriate gap gauge, the prescribed tightening tool, a clean tray, and a light. Photograph the access area before disturbing connectors. On a multiple-cylinder engine, organize removed plugs by cylinder so a finding can be traced to its original location.
Remove caps or coils as the manufacturer directs. For example, Honda's BF115J/BF140A/BF150D manual specifies releasing the coil connector lock and pulling the connector rather than its wires. It also warns against striking or dropping coils. Keep loose grit out of the plug openings and stop if access would require forcing a socket at an angle. Honda BF115J/BF140A/BF150D Owner's Manual
Inspect the electrodes, insulator, and cylinder-to-cylinder differences
Check each plug for worn electrodes and cracked or chipped insulation. Honda identifies those conditions as reasons for replacement. Note the cylinder position and describe what you actually see: a broken ceramic edge, visibly rounded electrode, heavy deposit, or moisture. A photograph is more useful than a vague entry such as “plugs looked bad.”
Appearance alone should not become a confident diagnosis of the engine's internal condition. If one plug differs markedly from the others, preserve that information for a technician instead of treating a fresh set as proof that the underlying problem has been fixed. Likewise, record whether poor starting or uneven running occurred before service; that history can guide the next inspection.
A brown ring on the exposed outside of the ceramic is a separate observation from deposits at the firing end. NGK explains that normal corona staining can occur above the metal shell and should not automatically be interpreted as a leaking internal seal. Inspect damage and location carefully rather than judging by color alone. NGK: 5 Things You Should Know About Spark Plugs
Check spark plug gap using the procedure for that plug
Do not assume that every new plug's factory gap is the correct gap for your engine. NGK notes that applications can require a different setting, and that an excessive gap can lead to misfire when the ignition cannot reliably bridge it. Increasing the gap is not a routine performance upgrade. NGK: Gapping and Indexing
The permission to adjust matters as much as the number. Honda's BF115J/BF140A/BF150D manual allows adjustment of its specified standard plugs, but gives different directions for its optional iridium plugs: do not clean them, do not adjust their gap, and replace them if contaminated or outside specification. It specifies a wire-type gauge for checking those iridium plugs.
NGK also cautions against prying on fine-wire electrodes. Where adjustment is permitted, use the approved tool and act on the ground electrode without loading the delicate center electrode. A damaged plug is not made serviceable by bending it until a gauge fits.
Reinstall with the specified tightening method
Start plugs by hand so they enter straight. Honda's BF8A instructions call for checking the sealing washers and hand-threading to avoid cross-threading. Its instructions distinguish between installation of new and previously used plugs; do not transfer a remembered turning angle from another engine.
Use the applicable torque specification or manual-prescribed tightening method. NGK explains that both insufficient and excessive tightening can damage a plug or engine. NGK also directs installation of its plated plugs without anti-seize or lubricant; adding lubricant changes the tightening conditions. Do not apply an unapproved thread treatment out of habit. If your engine's instructions appear to conflict with the plug maker's guidance, obtain clarification for that exact combination.
Reconnect components and reinstall covers carefully. Honda cautions against trapping wiring beneath the covers on the models discussed above. If a thread binds, a coil connector will not lock, or the specified tool cannot reach squarely, stop and correct the issue before proceeding.
Separate completion from a running test
Before closing the service entry, account for every plug and tool. If a post-service running check is required, follow the engine's cooling-water and ventilation instructions. Record whether that test actually occurred. An engine serviced after layup may be intentionally left unstarted; describe that status accurately instead of marking its running condition as confirmed.
Use this final checklist:
- Correct engine identity and manual confirmed.
- Correct plug part number and type checked.
- Each plug's condition and cylinder position recorded.
- Gap checked or handled according to the applicable plug procedure.
- Tightening and any permitted thread treatment follow the specified instructions.
- Caps or coils, connectors, and covers reassembled correctly.
- Outstanding symptoms, repairs, and any deferred running check noted.
Keep a useful spark plug service record in BoatDuty
Use BoatDuty as the place to record the service date, engine hours, plug part number, quantity, and whether the plugs were inspected, reused, or replaced. Add the gap specification and tightening specification with their manual reference, plus observations by cylinder. A separate note for unfinished diagnosis prevents a parts replacement from being mistaken for a completed repair.
For example, a useful entry distinguishes “four plugs replaced; cylinder 3 deposit photographed; dealer diagnosis pending” from “ignition serviced.” That detail helps you pick up the work in spring and gives the next technician a clearer starting point. Schedule the next inspection from your engine's requirements and recorded service history rather than from a generic seasonal rule.