

Marine engine flame-arrestor maintenance deserves a place on the fall service list, even when the engine starts easily and runs well. An intake assembly can look tidy from above while its edges collect grime or its mounting hardware loosens. Inspecting it before winter storage gives you time to identify the correct parts and resolve damage before the next launch.
This guide applies to gasoline inboard and sterndrive engines equipped with a serviceable flame arrestor. It is not a diesel air-filter procedure or a universal outboard maintenance instruction. Some gasoline engines use a different approved induction arrangement. Identify your engine and follow its current owner’s or service manual before removing anything.
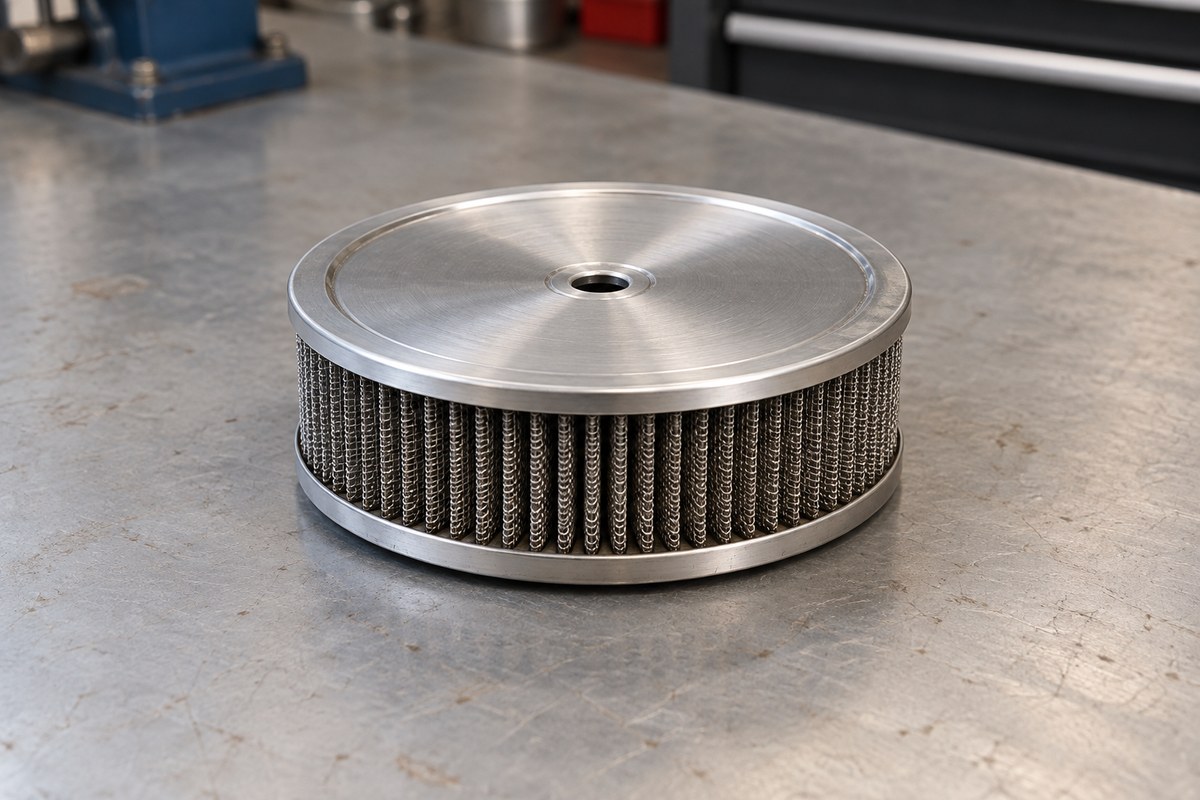
Identify the marine flame arrestor, not just the decorative cover
A flame arrestor is part of the engine’s backfire-flame-control system, not merely an interchangeable automotive air cleaner. Federal requirements recognize several acceptable arrangements; an outboard is excluded from the specific requirement in 46 CFR 25.35-1. Do not assume every engine should have the same round metal assembly. Federal backfire-flame-control requirements
Start with the engine serial number and the manual’s intake illustration. A plastic engine cover may conceal the actual assembly. Locate its mounting hardware and any attached ventilation hoses without disturbing them. Mercury recommends identifying replacement parts by engine serial number, which helps distinguish components that look similar but fit different engines. Mercury parts-identification guidance
Record what is installed before ordering: engine identification, arrestor part number if legible, mounting arrangement, and the manual section you will use. An unmarked replacement or an assembly that does not match the diagram is a reason to ask a qualified marine technician for confirmation.
Prepare for a cool, stopped-engine inspection
Shut the engine down, allow it to cool, and prevent accidental starting using the manufacturer’s procedure. Keep ignition sources away. If gasoline is leaking or you smell fuel, stop the maintenance task and have the fuel-vapor hazard resolved before proceeding or attempting a start.
Use adequate lighting and a clean work area. Keep loose fasteners and tools away from the intake. If access requires removing a cover, account for its hardware as you go. A small tray outside the engine opening helps prevent a missing washer from becoming a much larger problem.
An initial inspection can often identify an issue without taking the intake apart. Do not loosen unfamiliar hoses, sensors, or connections simply to improve the view.
Check contamination, damage, and attachment security
Examine the assembly from several angles rather than judging only its top surface. Look for:
- Dirt, oily deposits, or debris obstructing exposed passages.
- Dented, crushed, separated, or heavily corroded metal elements.
- Cracks or distortion in the housing and mounting area.
- Missing hardware, an obviously displaced assembly, or evidence of rubbing.
- Disconnected or damaged associated hoses, where fitted.
The applicable federal provisions specify a securely attached flame arrestor with a flame-tight intake connection. A loose mounting joint is therefore more than a cosmetic defect. Do not improvise a gasket, spacer, adhesive repair, or fastening arrangement. Gasoline-engine installation provisions
Photograph questionable areas for the service provider and describe their location. “Deposits around the lower rear edge” is more useful than “intake dirty.” If contamination returns quickly after proper service, record that pattern rather than repeatedly cleaning away evidence without investigating its cause.
Use the correct cleaning procedure for the exact assembly
There is no single cleaning recipe suitable for every marine intake. Do not assume that an automotive filter-cleaning kit, filter oil, solvent bath, wire brush, or compressed-air treatment is approved for yours. The manual must establish whether the element is cleanable, what products and methods are permitted, how it must dry, and when replacement is required.
Mercury’s gasoline-inboard manual includes flame-arrestor cleaning and inspection in its maintenance schedule. It also identifies a dirty arrestor as one possible contributor to poor performance—not proof of the cause. Use the schedule for your own engine rather than transferring an interval from a different model. Mercury gasoline-inboard manual, manufacturer document hosted by Maritime Propulsion
If removal is authorized, protect the open intake against debris using the manual’s method and keep an explicit count of all temporary protective materials. Do not pour cleaner into the intake. If the correct cleaning or reassembly instructions are unavailable, limit your work to inspection and arrange professional service.
Finish the job before considering a restart
Reinstall only serviceable, correctly specified components. Follow the prescribed orientation and fastening procedure; do not invent a torque value or tighten harder to compensate for a damaged mount. Confirm all required hoses and covers are restored and that no tools, loose hardware, or temporary intake protection remain.
Do not operate the engine with its required flame-control assembly removed. Any post-service running must follow the boat’s ventilation, fuel-safety, and cooling-water procedures. A storage inspection does not automatically require an engine run on the trailer.
Keep a useful flame-arrestor service record in BoatDuty
Use BoatDuty as part of your maintenance-recording routine. Note the inspection date, engine hours, serial number, assembly identification, findings, and whether the outcome was inspection only, approved cleaning, replacement, or referral for repair. Include the cleaner or replacement part used when applicable and the specification source followed.
Before closing the task, confirm:
- The installed intake arrangement has been positively identified.
- Contamination and physical damage have been assessed.
- Any required repair has been completed or clearly marked outstanding.
- Mounting hardware, hoses, and covers are correctly restored.
- The maintenance record distinguishes completed work from planned work.
A specific record makes spring preparation easier: you can see what was actually checked, which parts were fitted, and whether an unresolved intake issue still needs attention.