

Marine engine belt inspection is easy to leave behind when fall service centers on fluids and freeze protection. Yet the end of the season is a good time to document a squeal, inspect an accessible belt, and order the correct parts while there is time to investigate the cause. A new belt should be the result of a sound inspection, not an attempt to make an unexplained symptom disappear.
This guide concerns accessory drive belts on recreational boat engines with applicable belt-driven equipment. It is not a timing-belt replacement procedure. Engines, generators, and drive arrangements vary; not every boat has an automatic tensioner or the same accessories. Follow the owner’s and service manuals for the exact engine model and serial number.
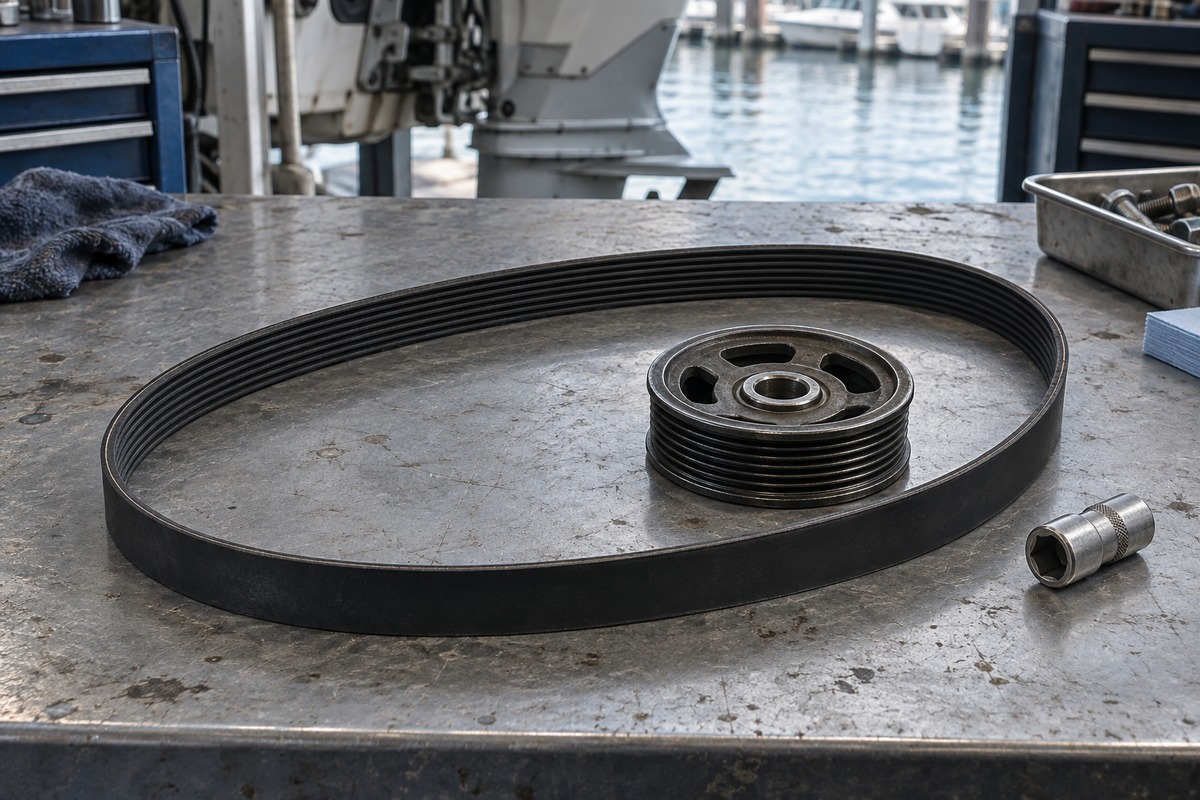
Start with the engine stopped, cool, and secured
Perform hands-on inspection only with the engine stopped and cool and its starting system secured according to the manufacturer’s service instructions. Prevent remote or automatic starting where fitted. Keep tools, clothing, and fingers away from rotating equipment; never reach toward a running belt to locate a noise.
If access requires removing guards or releasing a spring-loaded tensioner, first read the procedure and confirm that you have the proper tools. An inspection does not require improvising a disassembly method. Leave work that exceeds safe access or your experience to a qualified marine technician.
Before disturbing the belt, photograph the routing and note which engine you are inspecting. Check that routing against the manual rather than assuming the existing installation is correct.
Record symptoms before replacing parts
Write down when the concern appeared: at startup, after warming up, or following recent service. Include any warning indications and whether the symptom changed. These details make a service request more useful than “belt noisy.”
Yamaha identifies chirping, squealing, and a burning-rubber smell as reasons to check belts and hoses. Its maintenance guidance calls for replacement when belts show cracking or fraying and cautions against lubricant contamination, including spray-on products. Keep those warning signs in mind while following your own engine’s inspection criteria. Yamaha additional maintenance tasks
Look at the belt surfaces and edges you can safely see. Record the location and appearance of any damage instead of describing every mark as ordinary age. If you cannot inspect the complete belt using the approved procedure, note that limitation. Do not crank the engine merely to move an unseen section into view while someone is working nearby.
Include the tensioner in the inspection, if fitted
A belt is part of a drive system. Gates explains that automatic tensioners contain wearing components; pulley-bearing problems, weak spring force, pivot wear, and damper deterioration can affect operation. Its troubleshooting bulletin links these faults to noise, tracking problems, and excessive arm movement. It also advises confirming correct belt length before replacing a tensioner for squeal. Gates tensioner diagnostic bulletin
Those are diagnostic considerations, not proof that a particular marine engine needs a tensioner. Gates’ bulletin is accessory-drive guidance with automotive mileage references. Do not convert those mileage intervals into boat-engine hours. Use the marine engine manufacturer’s schedule and procedure, and have a technician evaluate uncertain pulley alignment, bearings, or tensioner behavior.
For a manually adjusted belt, use the specified tension-checking method. There is no verified universal thumb-pressure or deflection value for all marine engines. Record the actual specification and its manual reference when adjustment is performed.
Identify the replacement before the markings disappear
Copy the manufacturer’s part number from the installed belt if readable, then verify it against the engine application. Photograph the markings as a backup. A worn belt may have been replaced incorrectly in the past, so its number is evidence to check rather than final authority.
Many serpentine belts also carry a PK designation. Gates explains that this provides rib-count and effective-length information, and recommends starting with an application lookup or cross-reference. Its example, 6PK1003, describes six ribs and a 1,003-millimeter effective length. Effective length is not simply the outside circumference measured with a tape. Gates PK-number guide
Use that coding to document and discuss a belt, not to bypass engine-specific approval. Mercury’s parts catalog, for example, separates belt applications across outboard, inboard, and sterndrive equipment. Mercury belt catalog
Close the job with a clear service record
Before marking the task complete, confirm:
- Engine identification and applicable service instructions recorded.
- Belt condition and any inspection limits documented.
- Reported symptoms investigated rather than merely erased from the list.
- Correct replacement and routing verified if service was required.
- Tension checked by the specified method where applicable.
- Guards restored and post-service checks completed under the manual’s procedure.
Keep the date, engine hours, belt part number, inspection findings, and repairs in BoatDuty. Record whether a tensioner or pulley was also serviced and whether the original symptom was resolved. If the work remains pending, say so plainly. That small distinction keeps a fall inspection from being mistaken for a completed repair when it is time to launch again.