

Marine battery maintenance before winter is more than disconnecting a cable and closing the hatch. A battery that enters storage partly discharged, with loose terminals or an unnoticed case problem, may return in spring with reduced capacity—or create a safety issue long before launch day. A careful end-of-season inspection gives starting, house, thruster, and generator batteries the best chance of remaining dependable.
There is no single storage procedure for every battery. Flooded lead-acid, AGM, gel, and lithium batteries have different charging limits and service requirements. Identify the chemistry, manufacturer, model, capacity, age, and charger configuration before doing anything beyond a visual inspection. Follow the battery, charger, and boatbuilder instructions when they differ from general guidance.
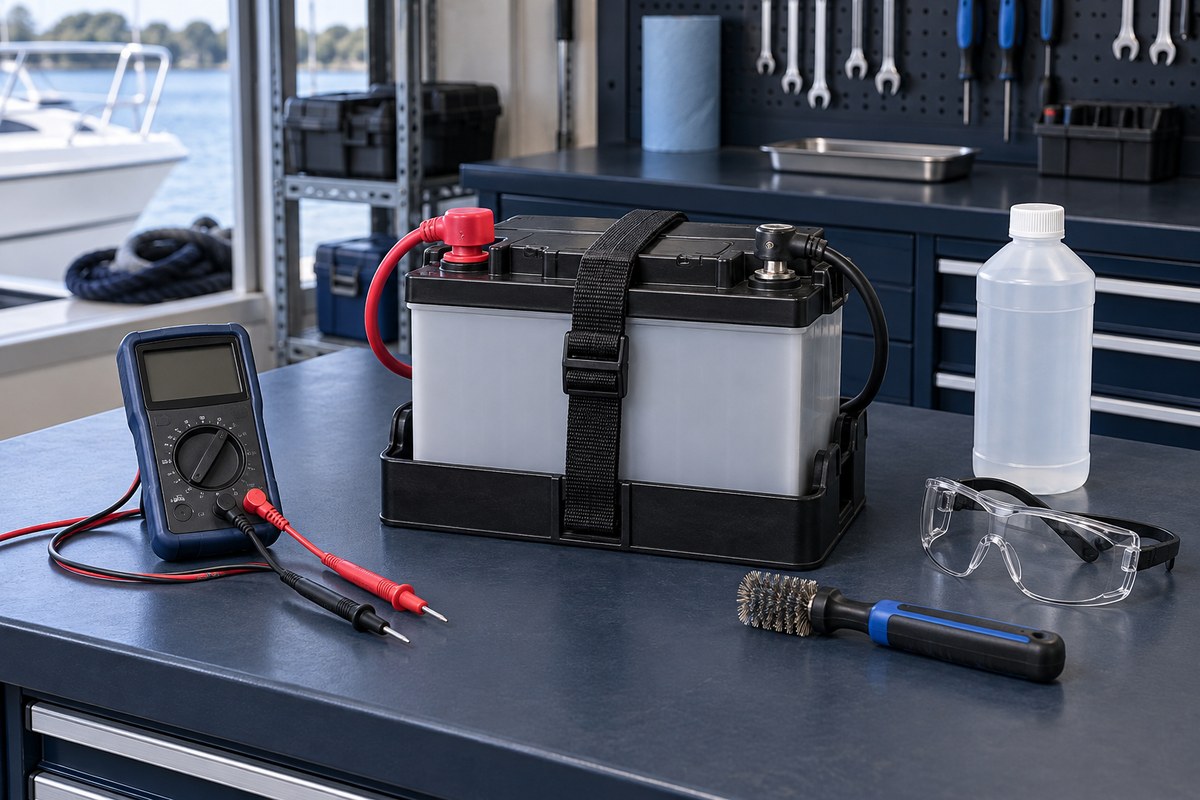
Make the battery compartment safe
Turn off loads and charging sources in the sequence specified by the boatbuilder. Ventilate the compartment, remove jewelry, and keep flames, sparks, smoking materials, and unprotected electrical tools away. Lead-acid batteries can release flammable gas during charging and contain corrosive electrolyte. Wear eye protection and appropriate gloves; keep the manufacturer’s recommended neutralizing and cleanup materials available.
Never work over a battery with a wrench or other conductor that can bridge terminals. Cover the positive terminal when it is not being accessed, and do not place tools on the case. If the boat has multiple batteries or series/parallel connections, label cables before removal and photograph the arrangement. Guessing later can damage equipment or create a dangerous fault.
Identify every battery and its job
Begin with a simple inventory. Many boats have more batteries than owners remember: dedicated engine-starting batteries, a house bank, generator battery, bow-thruster bank, electronics backup, or batteries inside auxiliary equipment. Record each battery’s location and purpose.
Read the label rather than judging chemistry by appearance. A sealed case may be AGM, gel, or another valve-regulated design; lithium packs require a compatible charging system and battery-management strategy. Also confirm system voltage and bank wiring. A 12-volt-looking battery may be one component of a higher-voltage series bank.
Check whether the installed charger has the correct profile for every connected bank. Do not assume an older charger is suitable for a replacement battery chemistry. Charging voltage, temperature compensation, storage mode, and allowable maintenance charging are model-specific.
Inspect the case, tray, hold-down, and cables
Use bright light and look at the complete installation—not only the terminals. Stop using and isolate a battery according to the manufacturer’s instructions if you find a cracked case, leakage, severe swelling, unusual heat damage, or a deformed terminal. A battery showing physical damage should be evaluated by a qualified technician or battery supplier, not returned to service after a cosmetic cleanup.
Check that the tray or box is clean, structurally sound, and appropriate for the battery. The hold-down system should prevent movement in every direction without crushing the case. Examine straps, buckles, threaded rods, covers, boots, and attachment points for wear or corrosion. Battery terminals must be protected against accidental short circuits as required by the installation design.
Trace accessible cables for chafe, stiff or swollen insulation, green corrosion migrating under the jacket, overheated lugs, loose supports, and excessive strain at the terminal. A cable can look clean at the stud while corrosion advances beneath the heat-shrink. Repair questionable conductors with marine-suitable parts and methods rather than adding another washer or forcing a damaged lug tighter.
Clean and tighten without damaging the battery
Before cleaning, install vent caps securely on flooded batteries and protect openings so cleaning solution cannot enter the cells. Trojan advises cleaning the battery top, terminals, and cable clamps while keeping foreign material out of the battery, then drying the area and applying suitable corrosion protection after reconnection.
Disconnect and reconnect cables only in the sequence specified for the boat and equipment. The familiar negative-first removal rule does not replace the wiring diagram on complex multi-bank systems, and some equipment needs an orderly shutdown before power is removed.
Use the terminal torque published for the exact battery and terminal style. More force is not better: battery manufacturers warn that overtightening can break or melt a post and create a fire hazard. Keep added accessory lugs within the battery and boatbuilder’s permitted arrangement. If a terminal has become a stack of unrelated ring terminals, a proper distribution point may be needed.
Check flooded lead-acid electrolyte correctly
Only service removable-cap flooded batteries. Do not pry open AGM, gel, or sealed batteries. Wear splash protection and work in a ventilated area.
Trojan’s general guidance is to inspect plate coverage before charging, add only enough water to cover exposed plates if necessary, fully charge, and then adjust the level to the battery manufacturer’s specification. Use distilled or otherwise manufacturer-approved water—never add acid—and avoid overfilling. Electrolyte expands during charging, so filling a discharged battery to the top can push corrosive liquid from the vents.
If one cell repeatedly needs more water than the others, or if electrolyte level falls unexpectedly, document it and have the battery and charger evaluated. Repeated water loss may reflect heat, overcharging, damage, or another problem that should not be hidden with frequent topping-off.
Measure charge state, then test capacity when needed
A voltmeter reading taken while a charger or load is active is not an open-circuit state-of-charge test. Trojan recommends allowing lead-acid batteries to rest with charging and loads disconnected before measuring; its published guidance says at least six hours and preferably 24 hours. Use the voltage table for the exact battery type and temperature rather than a generic number from memory.
For flooded batteries, specific gravity can provide cell-by-cell information when the battery maker permits hydrometer testing. AGM, gel, and sealed batteries are not opened for this test. A battery can show an apparently normal resting voltage yet fail under load, so arrange a proper conductance, load, or capacity test if cranking performance was weak, electronics voltage sagged, or usable house-bank runtime declined.
Record measurements under repeatable conditions. A single number is less useful than a trend showing how a rested battery and the same bank behave from season to season.
Charge for storage with the correct profile
Fully charge lead-acid batteries before storage using a charger approved for their chemistry and capacity. Trojan notes that stored lead-acid batteries self-discharge, should be kept in a cool, dry location, and need monitoring with a boost charge when their state of charge falls to the manufacturer’s threshold. A discharged lead-acid battery is also more vulnerable to freezing damage.
Do not connect a generic trickle charger indefinitely. Use a charger with a documented maintenance or storage mode appropriate to the battery, and inspect the installation periodically. Verify AC supply, ventilation, charger temperature, cable security, and actual battery voltage. A failed shore-power connection or charger can leave a bank unmaintained for months.
Lithium storage is different. The battery maker may specify a partial state of charge, a storage temperature range, BMS shutdown steps, and a periodic inspection interval. Some lithium batteries must not be charged below a stated temperature unless they have approved protection or heating. Follow the exact manual; do not apply lead-acid float-charging habits to lithium.
Decide whether batteries stay aboard or come ashore
Either approach can work when it complies with the battery and boat manuals. Leaving batteries installed preserves cable routing and may allow an onboard charger to maintain them, but it requires dependable shore power, a correct charger, ventilation, and periodic checks. Removing batteries can simplify monitoring, yet introduces lifting risk and reconnection errors.
If batteries are removed, use proper lifting handles or equipment and keep them upright where required. Store them in a cool, dry, protected, ventilated location away from heat and ignition sources. Modern battery cases may be stored on a clean concrete floor; the more important concerns are temperature, state of charge, cleanliness, damage protection, and manufacturer instructions.
Marine battery winter-storage checklist
- Inventory every battery, chemistry, purpose, capacity, and installation date.
- Confirm that charger profiles match the connected battery types.
- Inspect cases, trays, boxes, hold-downs, terminal covers, cables, and lugs.
- Clean and torque connections only to published specifications.
- Service electrolyte only on flooded batteries and only as directed.
- Fully charge lead-acid batteries before storage.
- Follow the battery maker’s separate storage procedure for lithium.
- Record rested voltage or approved test results and arrange a load test if performance was weak.
- Set a realistic winter inspection and recharge schedule.
- Recycle damaged or retired batteries through an approved battery retailer or recycling program.
Record the details in BoatDuty
Create a BoatDuty maintenance entry for each battery or bank. Include the date, boat or engine hours if useful, battery location and purpose, chemistry, manufacturer and model, capacity, installation date, charger profile, rested voltage, test result, terminal condition, water added, and repairs made. Note whether the battery remains aboard or is stored elsewhere and schedule the next voltage or charger check.
That record makes spring troubleshooting faster and exposes trends such as one bank losing charge sooner, a flooded cell consuming more water, or a starting battery producing steadily weaker test results. Good battery care is not a single fall task; it is a documented cycle of inspection, correct charging, safe storage, and verification before return to service.