

Boat deck-hatch maintenance is easy to postpone when a lid still opens and closes. Before winter storage, however, inspect the gasket and closing hardware while there is time to identify parts and arrange repairs. A damaged seal, an unreliable latch, or a lid that will not stay supported deserves a specific repair plan before the boat is left unattended.
This guide concerns opening deck hatches and their mechanical sealing components. Hatch designs differ, including the way hinges hold the lid and the way handles compress the gasket. Follow the instructions for the installed manufacturer, range, size, and generation. A hatch that looks similar in a catalog may use different replacement parts.
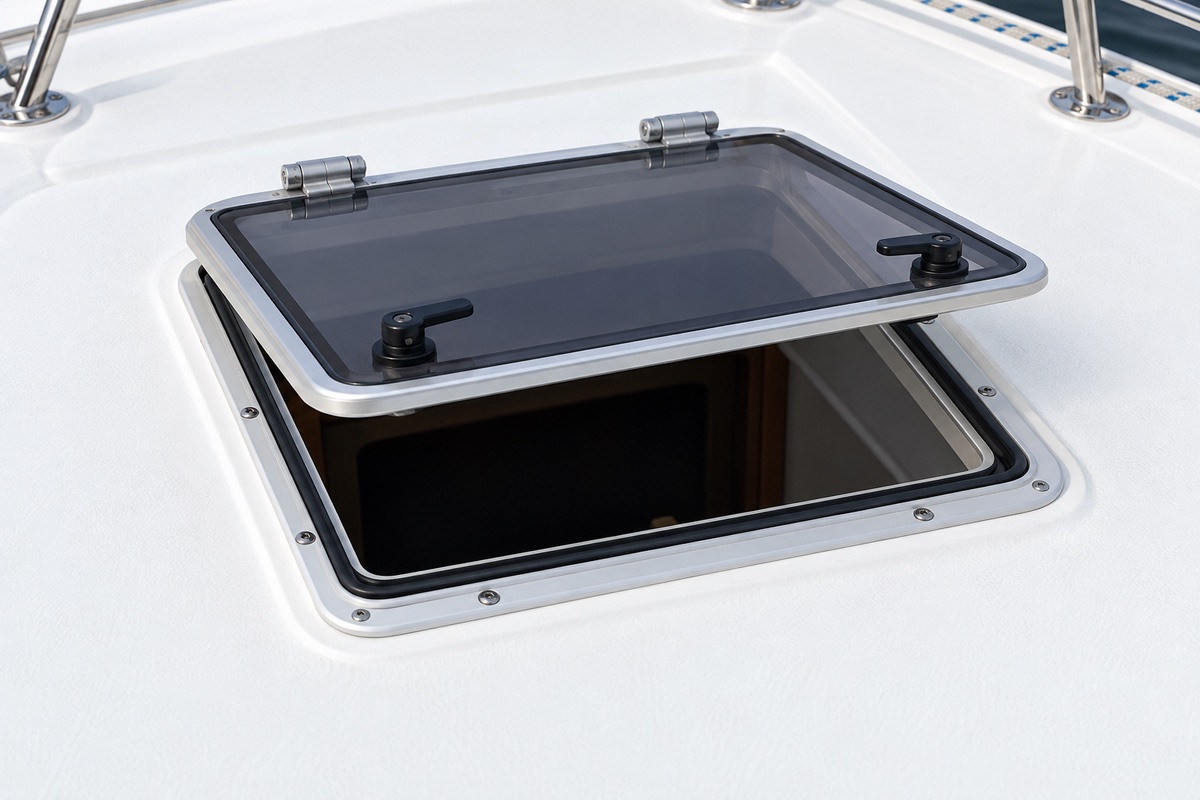
Identify each deck hatch before ordering seals
Start with a location-based inventory: forward berth, salon, or aft cabin. Photograph the whole assembly, the handles, the hinge arrangement, and any identification marks. Note which hatch has the problem instead of treating all openings as interchangeable.
Lewmar offers range-specific gasket kits, including seals shaped for its Ocean hatch frames. Its guidance explains that seals can deteriorate or remain compressed with age. Correct fit and compression matter, so match the complete product identification before selecting a gasket. Avoid choosing generic rubber solely because its width appears close.
Keep the part number you verify, the supplier’s compatibility information, and the relevant manual reference with the maintenance record. This also helps prevent an incorrect spare from being installed during a rushed repair later.
Clean the sealing surfaces before judging their condition
Lewmar’s Ultra Low Profile manual specifies soap, water, and a soft cloth for cleaning and prohibits abrasive or solvent cleaners on the acrylic lid. Use the cleaning method approved for your own hatch, including its gasket material.
With the lid safely supported, remove loose dirt from accessible sealing surfaces and inspect the gasket around its full perimeter. Look for cuts, displaced sections, gaps at joins, or areas that remain visibly flattened. Record the location of each defect using a consistent reference, such as “forward edge, port corner.” Include a close photo and a wider image showing where it belongs.
Do not treat lubricant or extra closing force as proof that a damaged gasket has been repaired. A replacement seal and a latch adjustment are different jobs. If the seal is bonded or retained in a channel, obtain the model’s removal and installation instructions before pulling it out.
Check latch engagement and lid support separately
Operate the handles through their normal travel while keeping clear of pinch points. Observe whether the lid closes evenly and whether each latch engages its intended catch. Note a handle that binds, misses its catch, or feels different from the others. Stop if a component is cracked, loose, or visibly distorted.
Then evaluate lid support using the manufacturer’s procedure. Some hatches use friction mechanisms; others have different support arrangements. Lewmar specifically prohibits lubricant on the Ultra Low Profile friction lever, while prescribing lubricant at particular scissor-hinge sliders. That distinction is a useful reminder to identify the exact component before applying any product. Follow model-specific adjustment directions rather than transferring a screw setting from another hatch.
If the lid cannot remain safely supported, arrange repair before working beneath it. Record the symptom separately from the suspected cause: “lid falls from partly open position” gives a technician clearer information than an unconfirmed diagnosis of a failed hinge.
Describe leaks before committing to a repair
If a hatch has leaked, note when it happened and where moisture first appeared. Was the boat at rest in rain, being washed, or underway? Was the handle in its normal closed position? Has the symptom changed since a previous repair?
These observations help a service technician decide what to inspect. They do not establish that the perimeter gasket is the only fault. Avoid smearing sealant across unrelated joints or tightening every fastener without a procedure. Ask for a repair that identifies the actual entry point and includes a suitable post-repair leak check.
Finish with a hatch-by-hatch storage checklist
- Confirm the hatch identity and retain the matching instructions.
- Record gasket damage and the exact replacement part, if required.
- Check each latch for normal engagement and note unresolved faults.
- Verify safe lid support and document any authorized adjustment.
- Confirm repairs and leak checks are complete before recording the hatch as serviceable.
- Set each hatch to the position required by the boat’s storage plan; do not assume a ventilation setting provides a sealed closure.
Use BoatDuty to record the service date, hatch location, gasket or handle part numbers, approved products used, and the result of any repair. Engine hours are usually less informative here than dates and observations. Keeping each opening’s history distinct makes recurring trouble easier to explain and helps you order the right components before the next season.